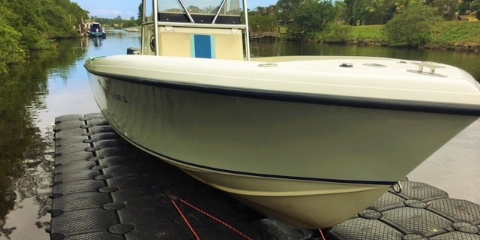
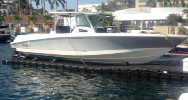
 Boat Docks
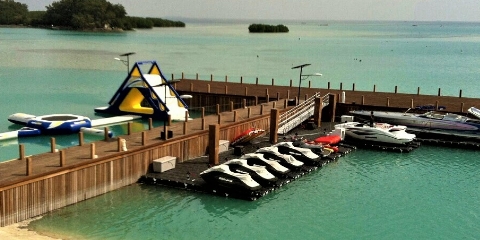
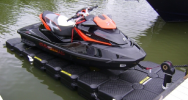
 PWC Docks
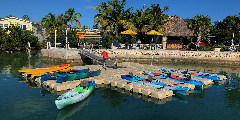
 Kayak Docks
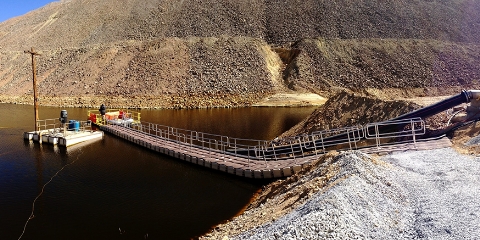
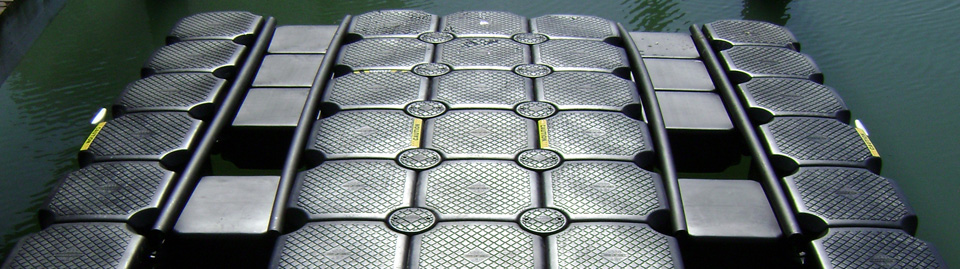
 Floating Walkways
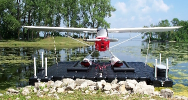 Seaplane Docks
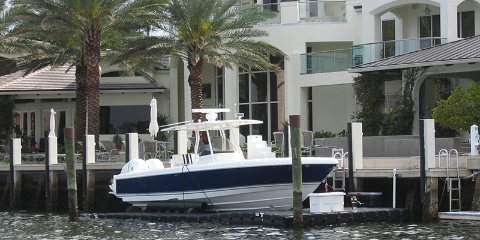 Residential Docks
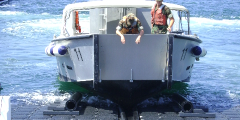
 Commercial Docks
 Saltwater Docks
 Lake & River Docks
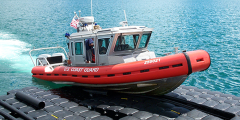 Government Docks
 Military Docks
 Parks & Recreation Boat Docks
 GSA Information
 Dealer Application
 Dealer List
 Jet Dock Advantages
 Boat Lift Photos
 Boat Lift Videos
 Knowledge Center
 Marine Forecasts
- What do I need to know?
- PDF Library
- Drive-on & Launching
- Floating Dock Assembly
- Boat Mooring & Installation
- Maintaining Your JetDock
- The Competition
- Questions for the Competition
- Environmentally Friendly
- Boat Lift & Boat Dock Legislation & Permitting
- Moving A Boat Lift
- Dock & Boat Lift Maintenance
- News & Articles
Learn How to Tie 5 Common Boating Knots
There is nothing like cruising through the open water on a pleasant, hot day feeling the mist of water lightly spray over you. The pure relaxation and excitement of traveling from port to port or island to island is one of the greatest feelings any avid boater can think of. To fully enjoy your adventures without any discrepancies, every boater should know how to tie boating knots to ensure you and your boat safe and secure when exploring your water paradise.
If you don’t know how to tie boating knots like an experienced skipper, we don’t expect you to learn every single knot formed in boating history. There are literally hundreds of boat knots! However, you should learn how to tie these 5 common knots for boating to ensure that you are ready to travel the seven seas (or lake).
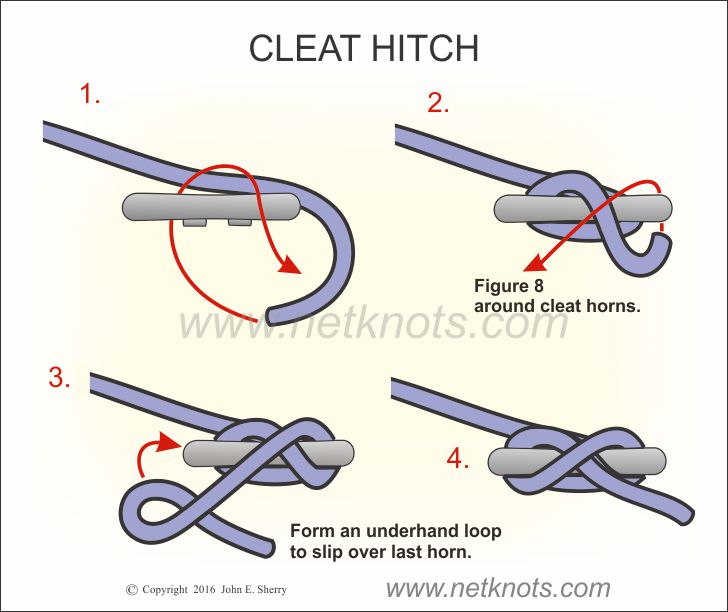
Cleat Hitch
The Cleat Hitch is one of the most widely utilized knots boaters use to tie their watercraft to a static dock, floating dock or boat lift. The knot is designed to easily tie and untie with superior strength to hold watercrafts securely. If you own one of our Jet Dock Floating Dock or Boat Lift systems make sure to purchase cleats designed to attach along the perimeter of your dock or lift. You could use the Cleat Hitch to firmly hold your boat on the lift or dock.
How to Tie the Cleat Hitch Knot (view example)
- Wrap the line once around the base of the cleat, followed by bringing the line over the top.
- Wrap the line around the opposite side of the cleat and bring it over the top of the cleat again.
- Wrap the line under the first arm again forming a figure eight pattern over and around the cleat. Then form an under hand loop and slip it over the first arm you started with. This creates a firm hold restraining the free end under the last wrap.
- Pull the free end of the rope tight to firmly secure the Cleat Hitch.
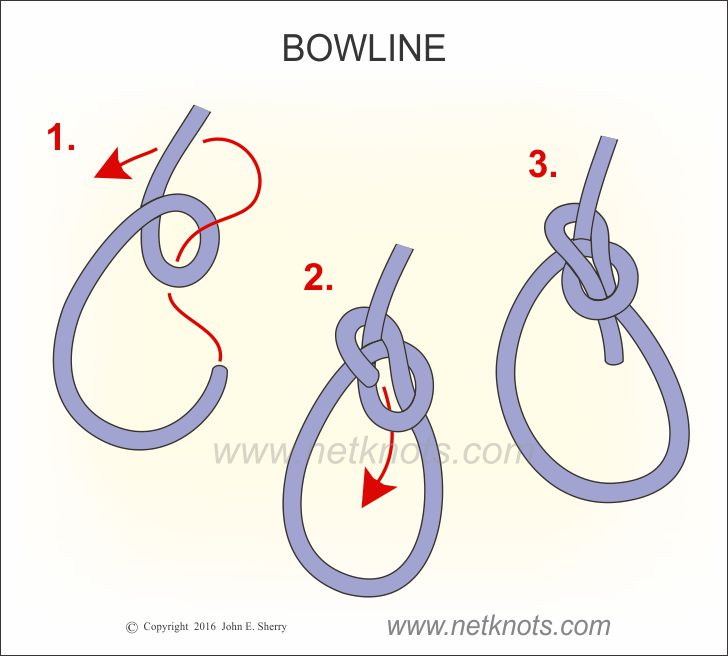
Bowline Knot
The Bowline Knot is another useful type of knot used in situations that require a firm hold that is easy to untie in a moment’s notice. Once this knot is fully tied, it forms a fixed loop at the end of the rope designed to put around a post or cleat for temporary mooring. This knot is strong and secure but should not be used in life or death situations.
How to tie the Bowline Knot (view example)
- Lay the rope across your left hand with the free end hanging down.
- Bring the free end up forming an eye hole (commonly called the rabbit hole) and pass it through the eye hole from the underside of the rope. The step is referred to the rabbit coming out of the hole.
- Wrap the free end around the standing or fixed part of the line and back down through the eye hole. This step is referred to the rabbit traveling around the tree and back down into the hole.
- Tighten the Bowline Knot by pulling on the free end while holding the standing or fixed part of the line.
Anchor Bend
The Anchor Bend is commonly used to tie rope to an anchor to secure the anchor to the boat. It is common for boaters to seize the free end of the line with a backup knot to ensure you do not lose your anchor.
How to tie the Achor Bend (view example)
- Make two turns or loops around the shackle attached to the anchor.
- Pass the free end behind the standing or fixed line followed by passing it through the turns or loops made in the first step.
- Wrap the free end around the standing line with the free end under the wrap. This is called a half hitch.
- You should seize the free end to the standing line by tying a backup knot around both parts of the line.
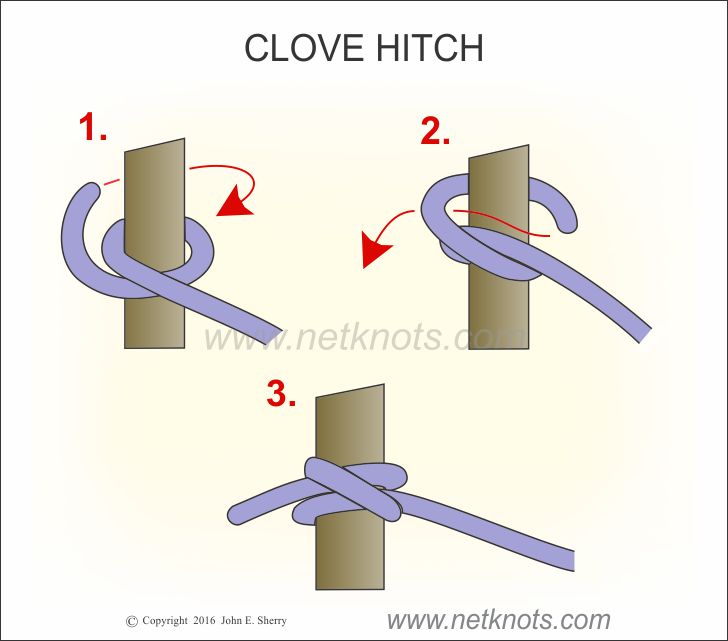
Clove Hitch
A Clove Hitch is used for a variety of applications but is primarily used to tie to dock posts for temporary mooring. This knot is very easy to tie and untie making it an excellent binding knot. The Clove Hitch should be used with caution because it can slip if there isn’t constant pressure on the line or if the object it is attached to rotates.
How to tie Clove Hitch (view example)
- Wrap the free end of the line around the rope around the post or object.
- Cross the line over itself and wrap the free end around the post again.
- Slip the free end under the last wrap.
- Pull the knot tight by pulling the free and standing end of the line.
Figure Eight Knot
A Figure Eight Knot is one of the strongest knots with a firm, non-slip loop at the end of the line. This line is so strong it is often used by rock climbers to hold their climbing gear. You must know how to tie this knot to securely hold your boat to mooring locations.
How to tie the Figure Eight Knot (view example)
- Tie a single eight in the rope two feet from its end.
- Retrace the first figure eight you made with in the first step with the free end leaving a loop at the bottom of your desired size.
- Secure the knot by pulling all four strands of the rope as tight as you can.
Now explore open waters and feel safe knowing that your boat and other essentials will be tied securely to your boat. If you need any mooring accessories for your floating boat lift or dock shop at Jet Dock today!
Knot steps sourced from NetKnots.com.

By answering a few quick questions we will be able to tell you which dock or boat lift is the perfect fit for you.
Start Now! ▶Jet Dock Systems manufactures specialized floating boat lifts and drive-on docking systems for a wide variety of watercraft in just about any marine environment. Our headquarters and manufacturing operations are located in Cleveland, Ohio. We have an additional facility and staff in Fort Lauderdale, Florida as well as boat lift dealers all over the world.